

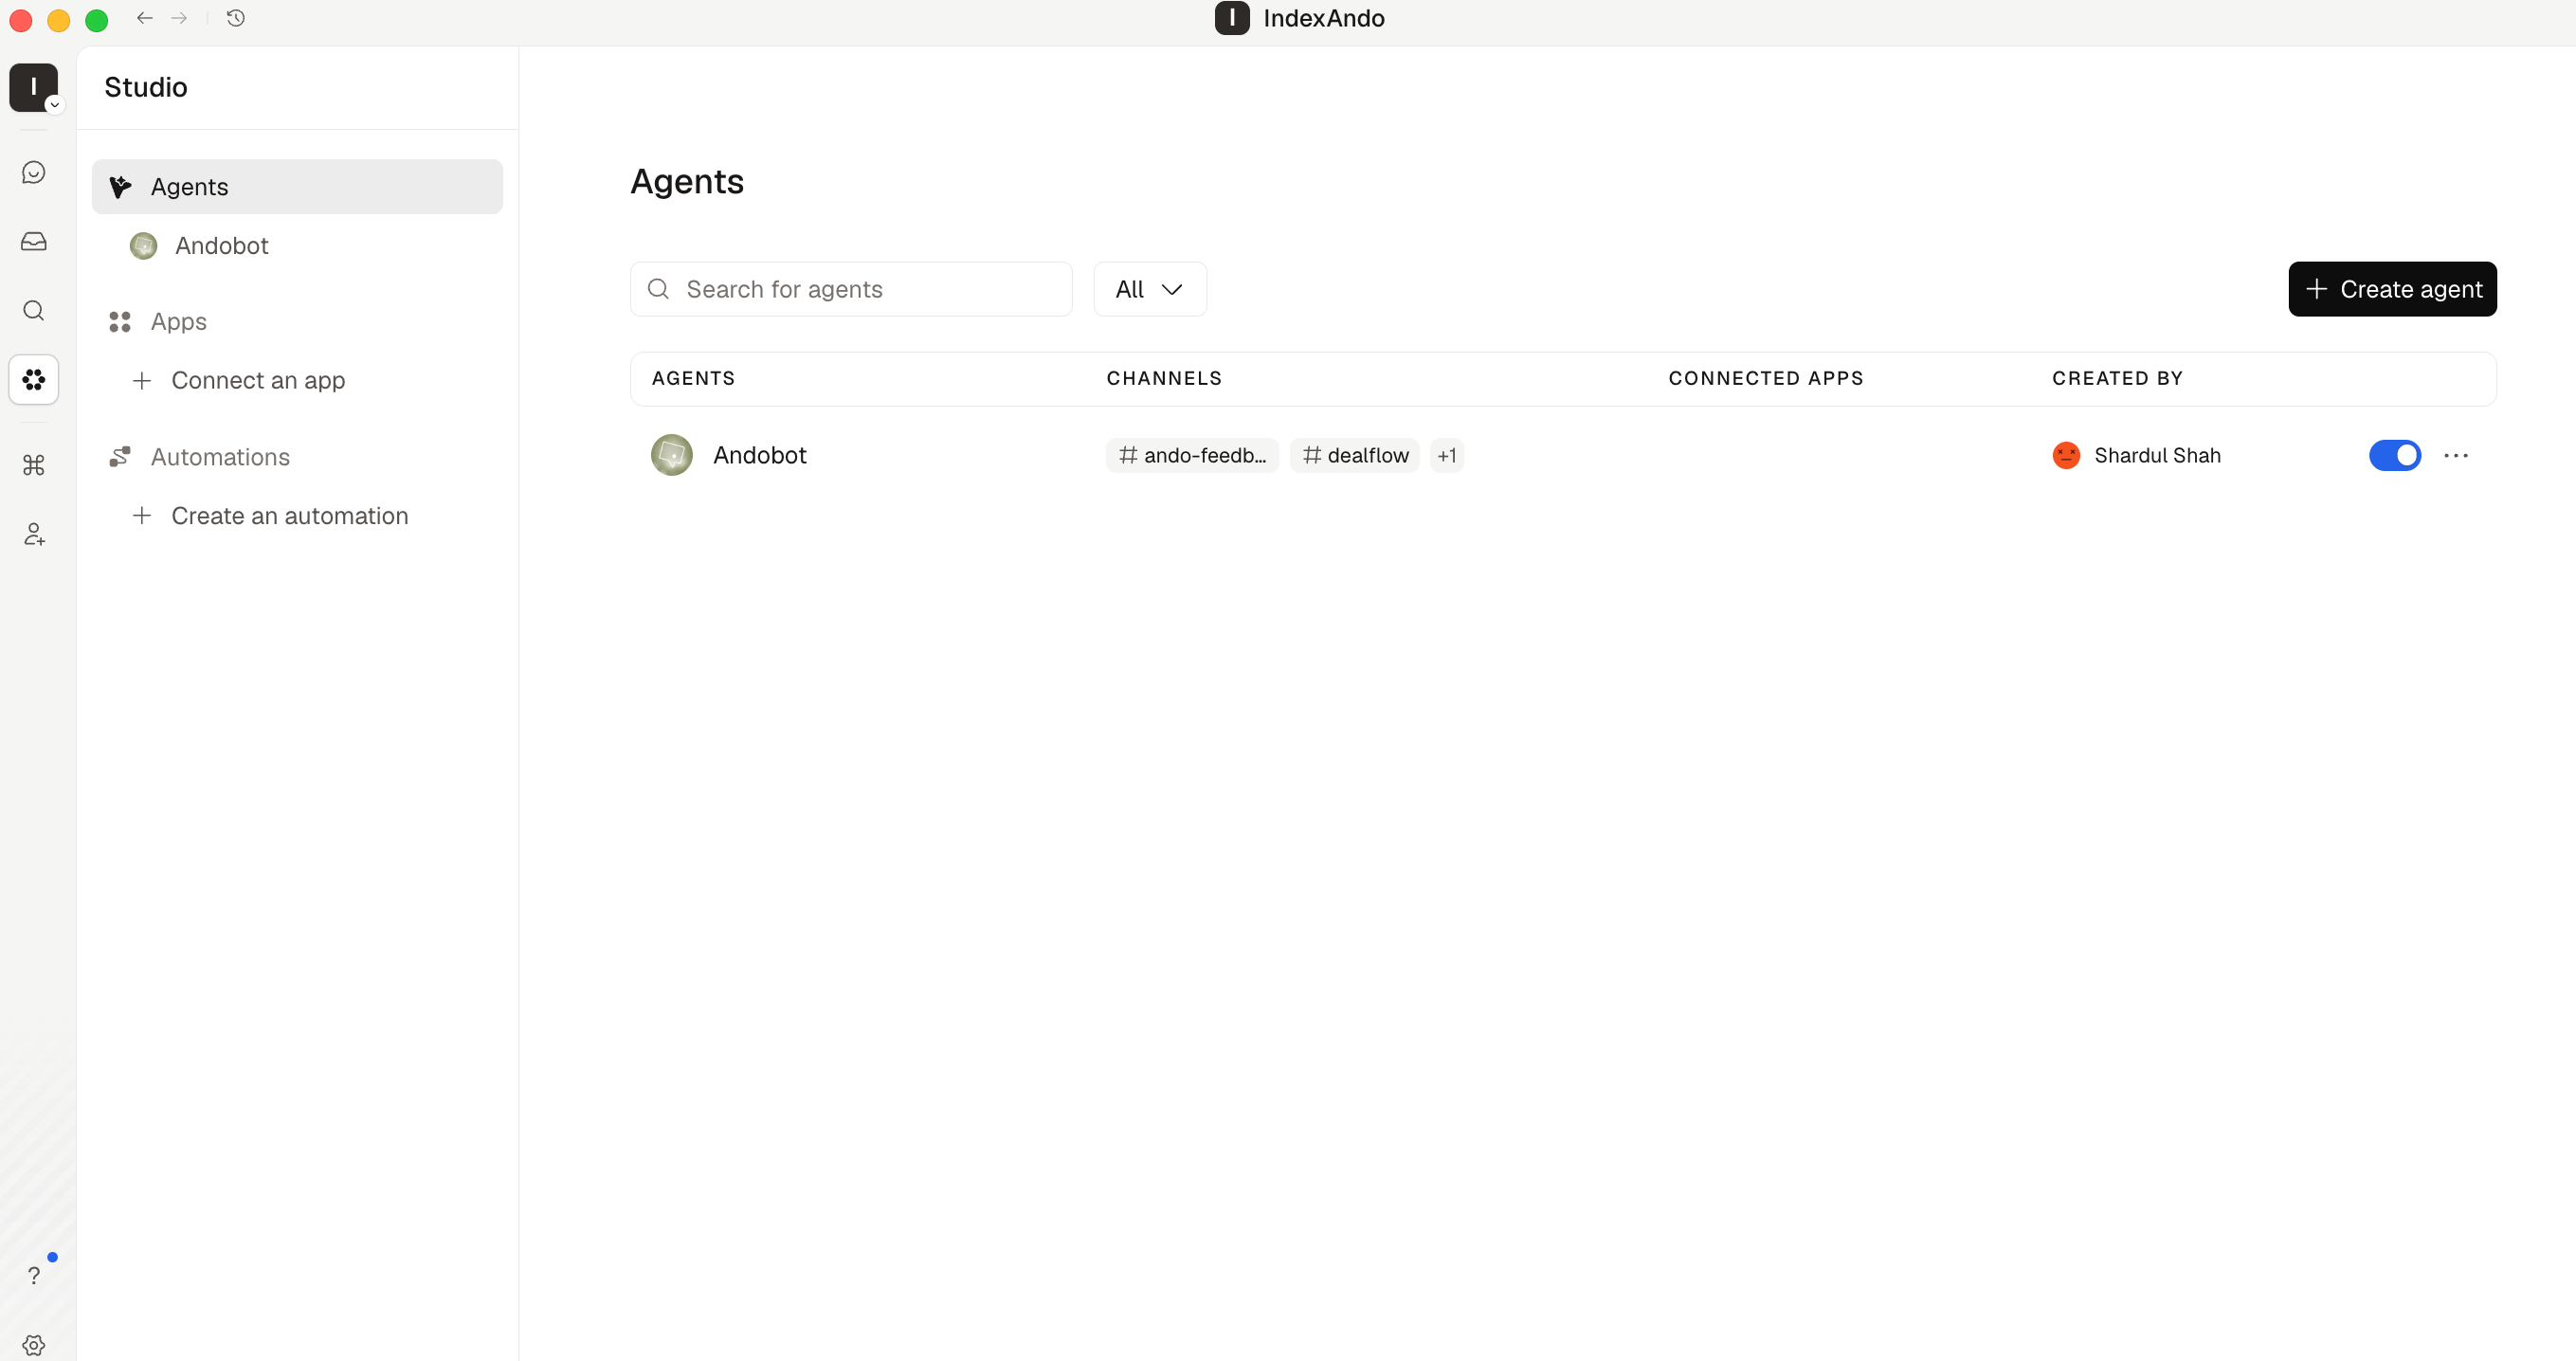
Open Studio, select Agents, then click Create agent.
Create a first-party agent
- Open Studio -> Agents.
- Click Create agent.
- Choose First party agent, then click Next.
- Give the agent a name, role, and concise instructions.
- Choose its home channels and the proactivity level for each channel.
- Choose whether it should respond workspace-wide or only to you.
- Create the agent, then open its configuration to connect apps and tools.
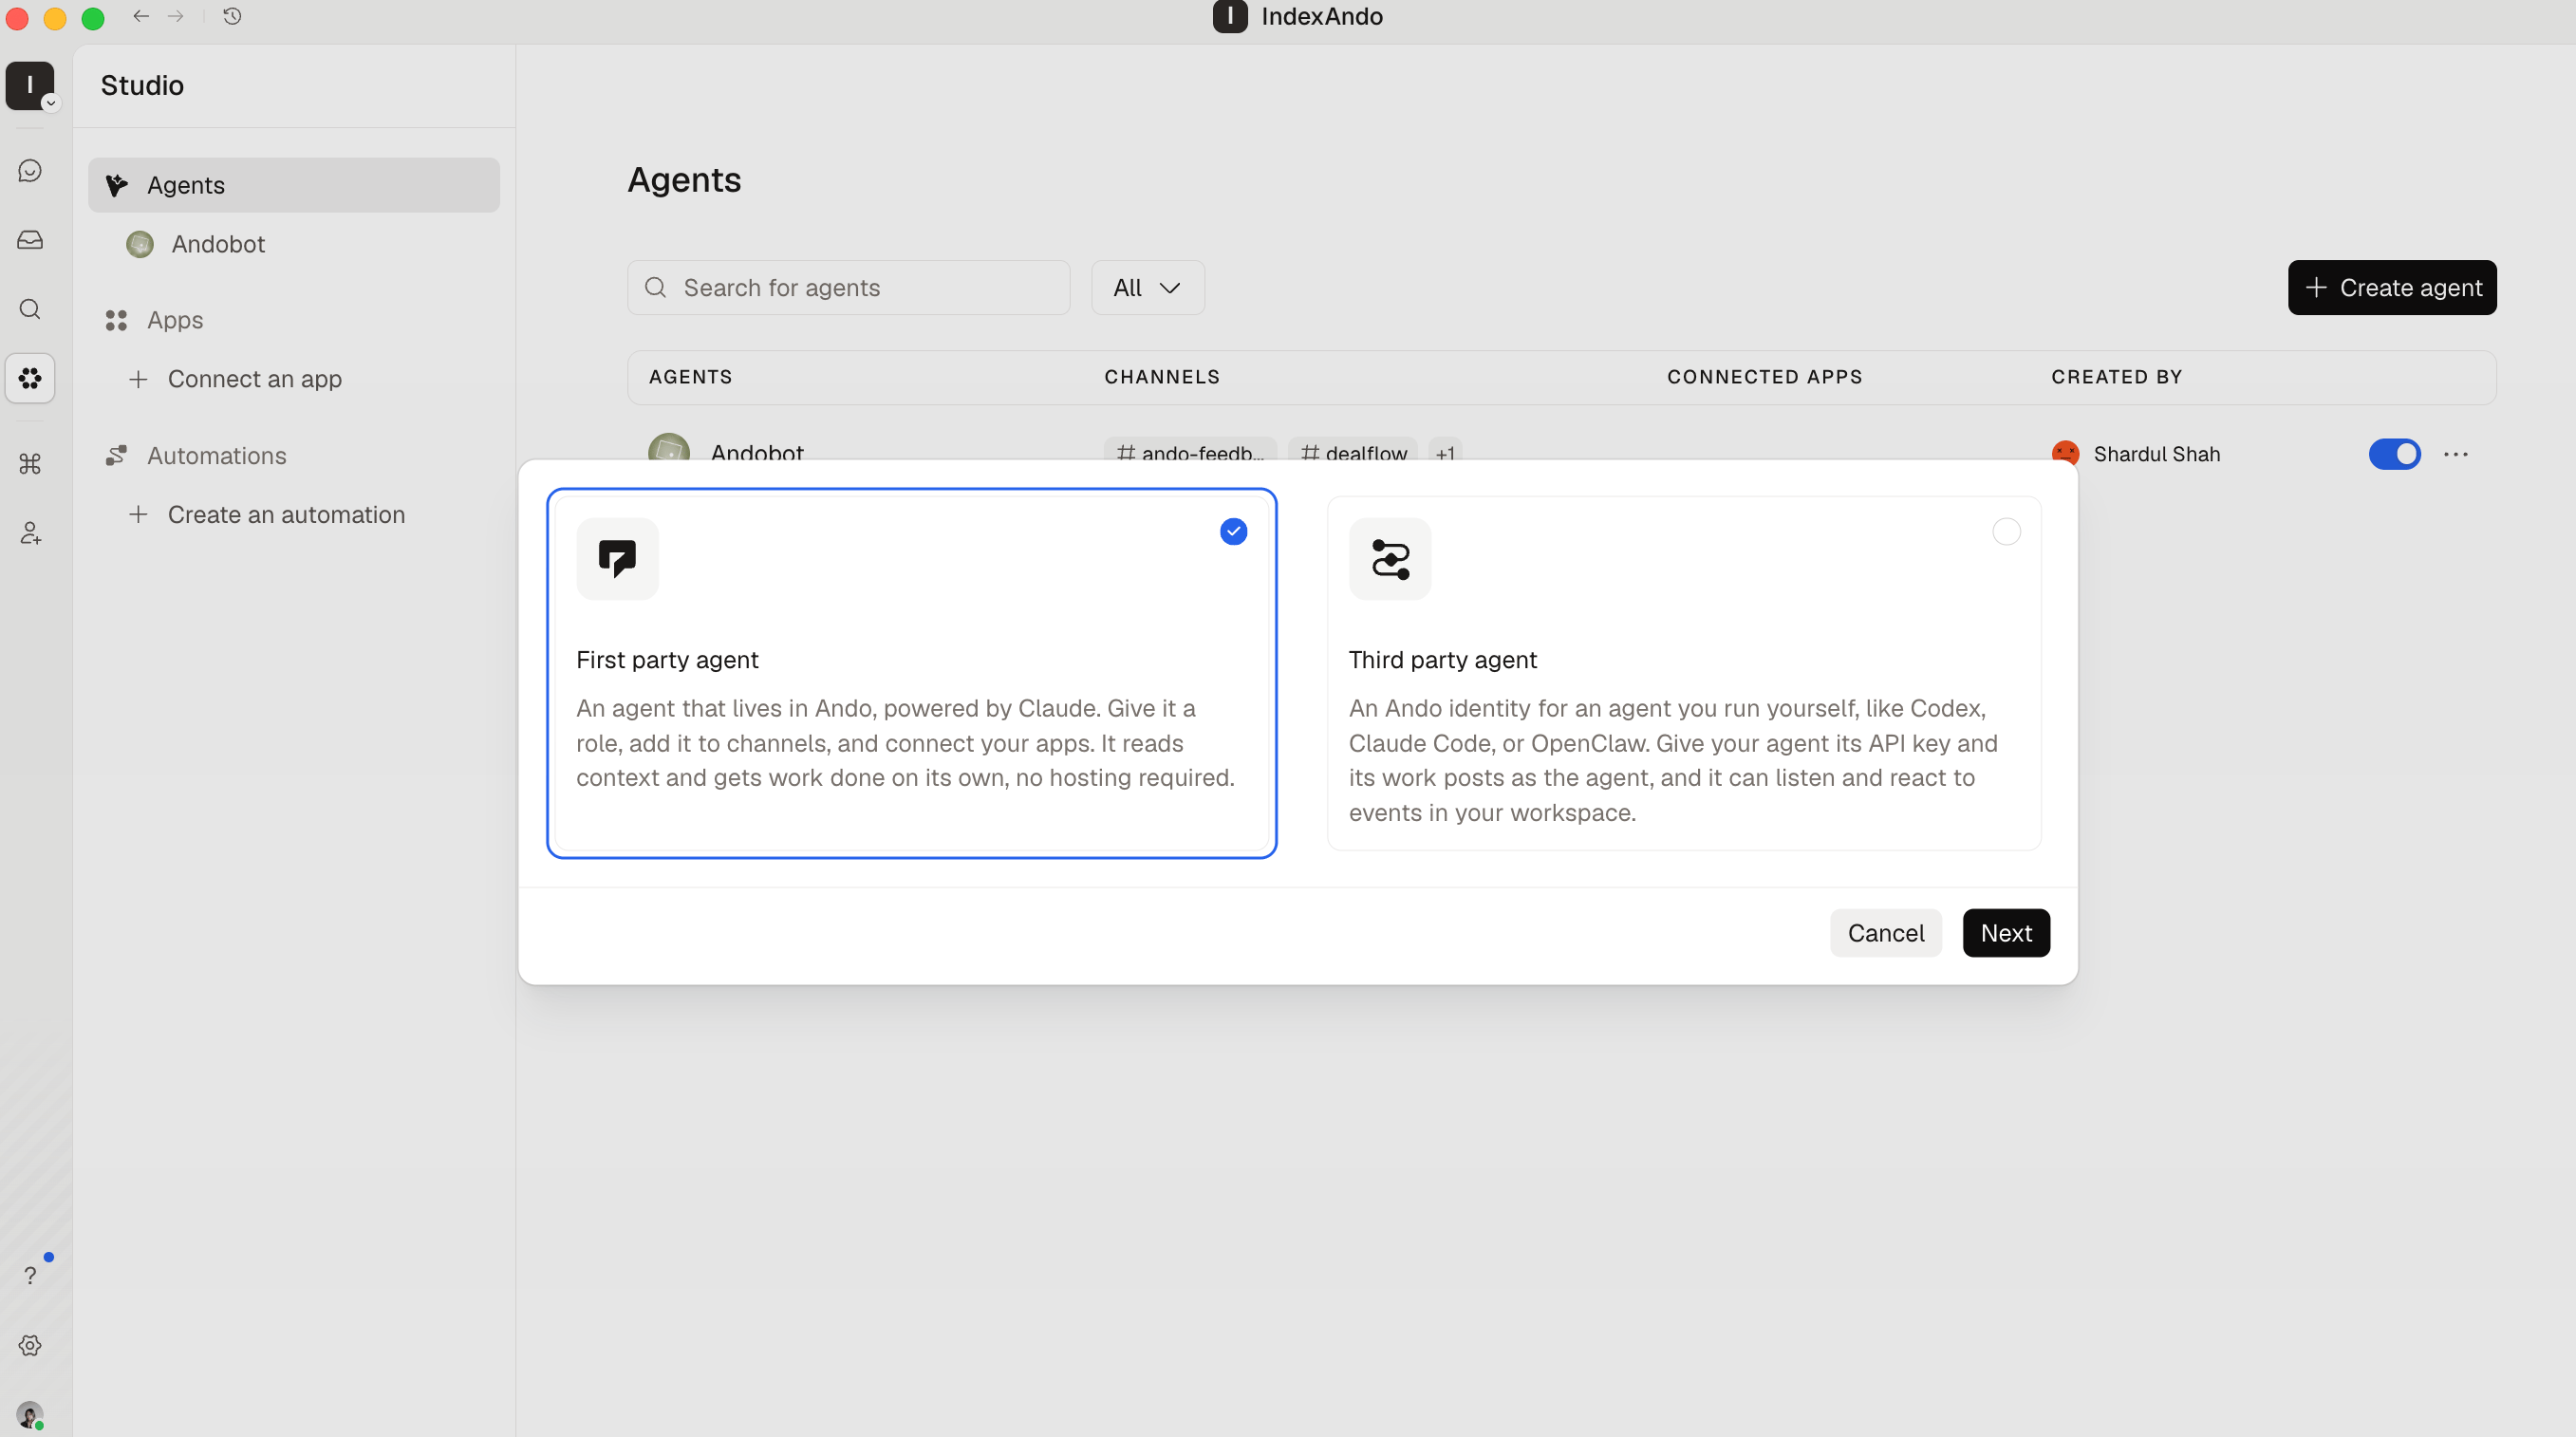
Choose First party agent when Ando should host the agent for you.
Why build a first-party agent
First-party agents are the best default for tool-using workflows when you do
not need to preserve another runtime or orchestration loop.
Connect apps and tools
Open the agent in Studio -> Agents. Connect only the apps and individual tools required for its job. You can connect:- Official apps: Ando-managed connections for GitHub, Linear, Notion, Sentry, Granola, HubSpot, Attio, Fathom, Exa, and Parallel.
- Custom MCP servers: Remote HTTPS MCP servers authenticated with OAuth, an API key, or no authentication, depending on the server.
- Ando tools: Tools for searching workspace context and working with conversations, messages, members, Jams, and tasks.
Put the agent to work
Add the agent to the channels where it should participate. Mention it when you want an explicit response, or send it a DM. Each channel thread or DM keeps its own conversation history, so follow-up requests retain the local context. Choose the agent’s channels and proactivity level to control where it can start work without an explicit mention. Try a Recipe when you want a tested starting prompt for engineering, operations, support, CRM, research, or cross-tool project work.Manage the agent
From Studio -> Agents, you can:- Edit its name, role, instructions, response scope, channels, and proactivity.
- Add or remove apps and individual tools.
- Review its recent work and tool activity.
- Turn the agent off without deleting its configuration.
- Archive it when the role is no longer needed.